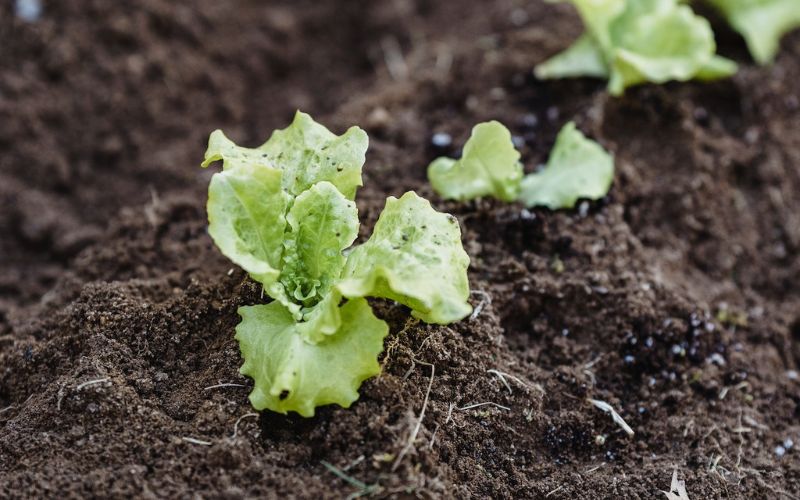
Transplanting is the process of moving young plants that have been grown in small containers indoors or in a protected environment to an outdoor vegetable garden or a larger container.
Why should you transplant vegetable seedlings?
Starting vegetable seeds and then later transplanting them in your garden has several benefits. Many types of vegetables benefit from being transplanted. This includes broccoli, cabbage, cauliflower, eggplant, kohlrabi, lettuce, onions, peppers, and tomatoes.
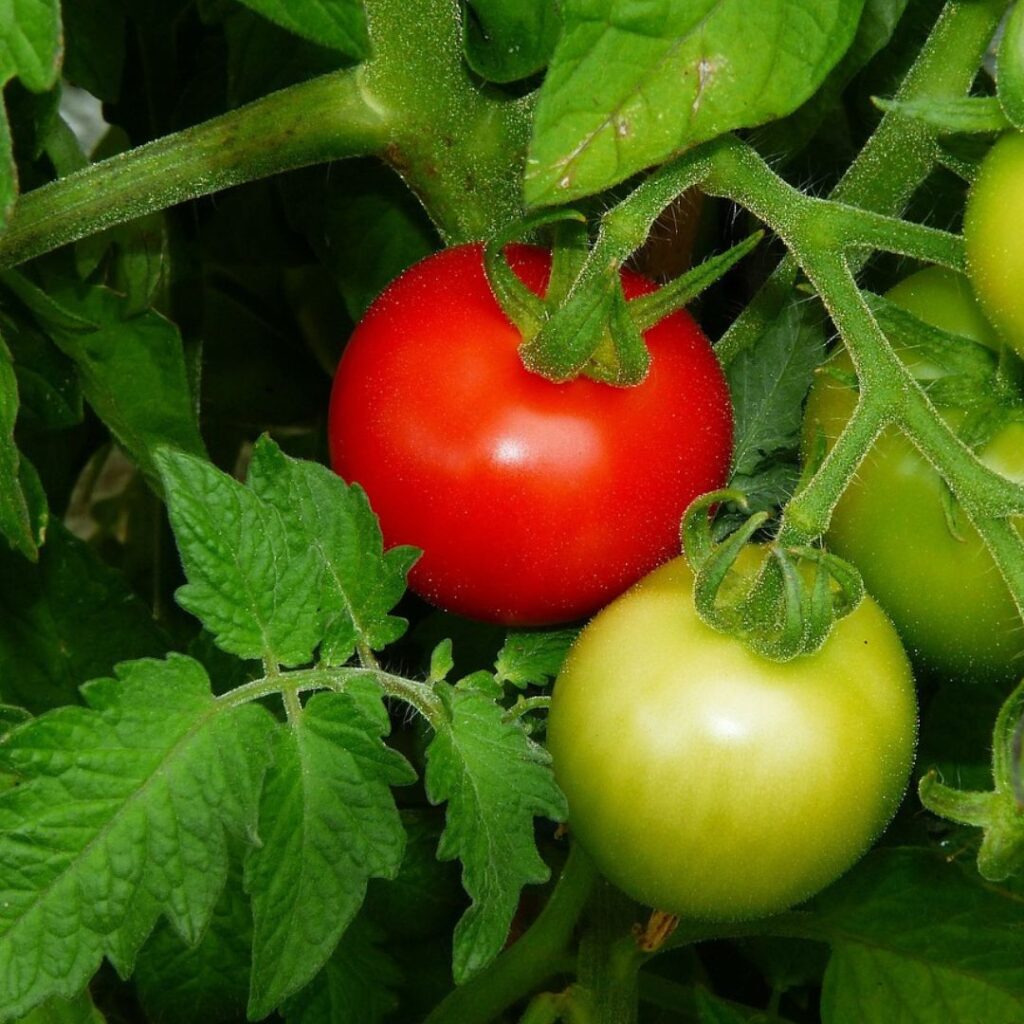
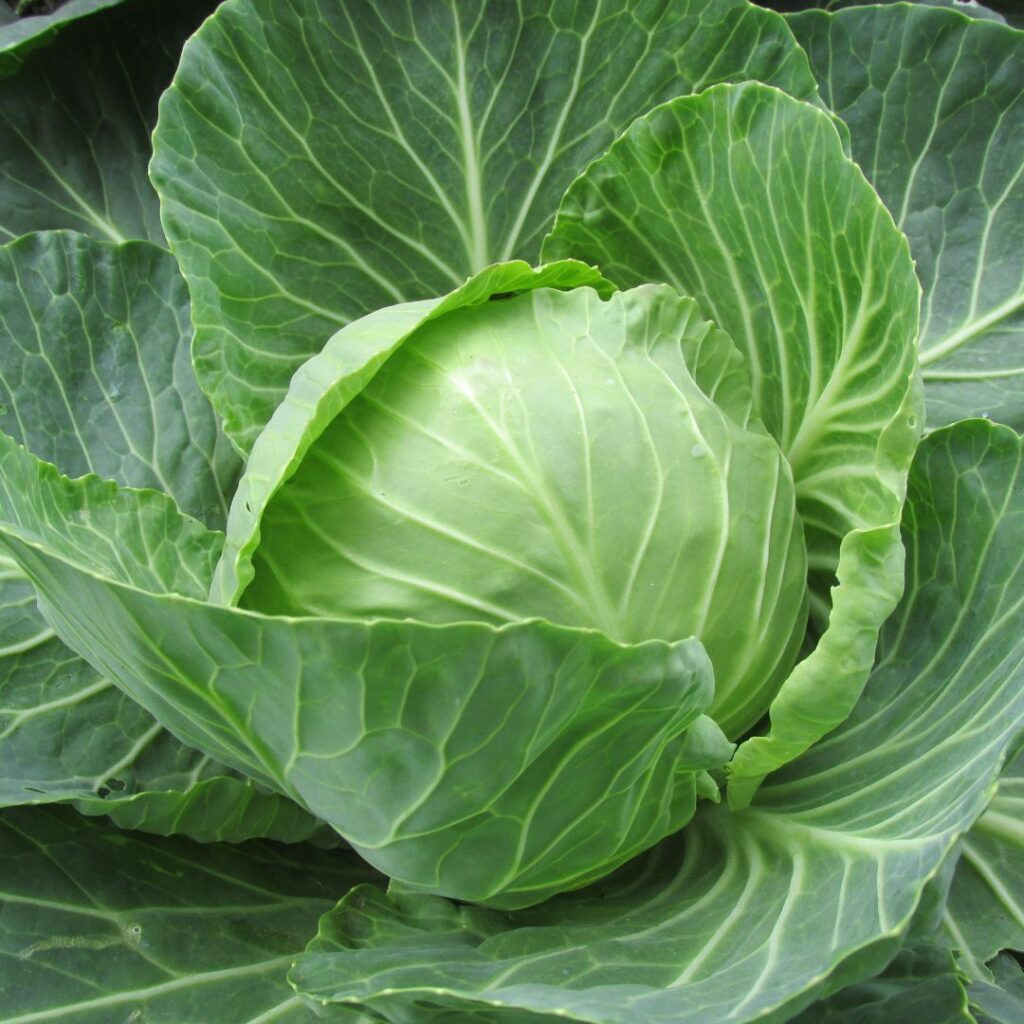
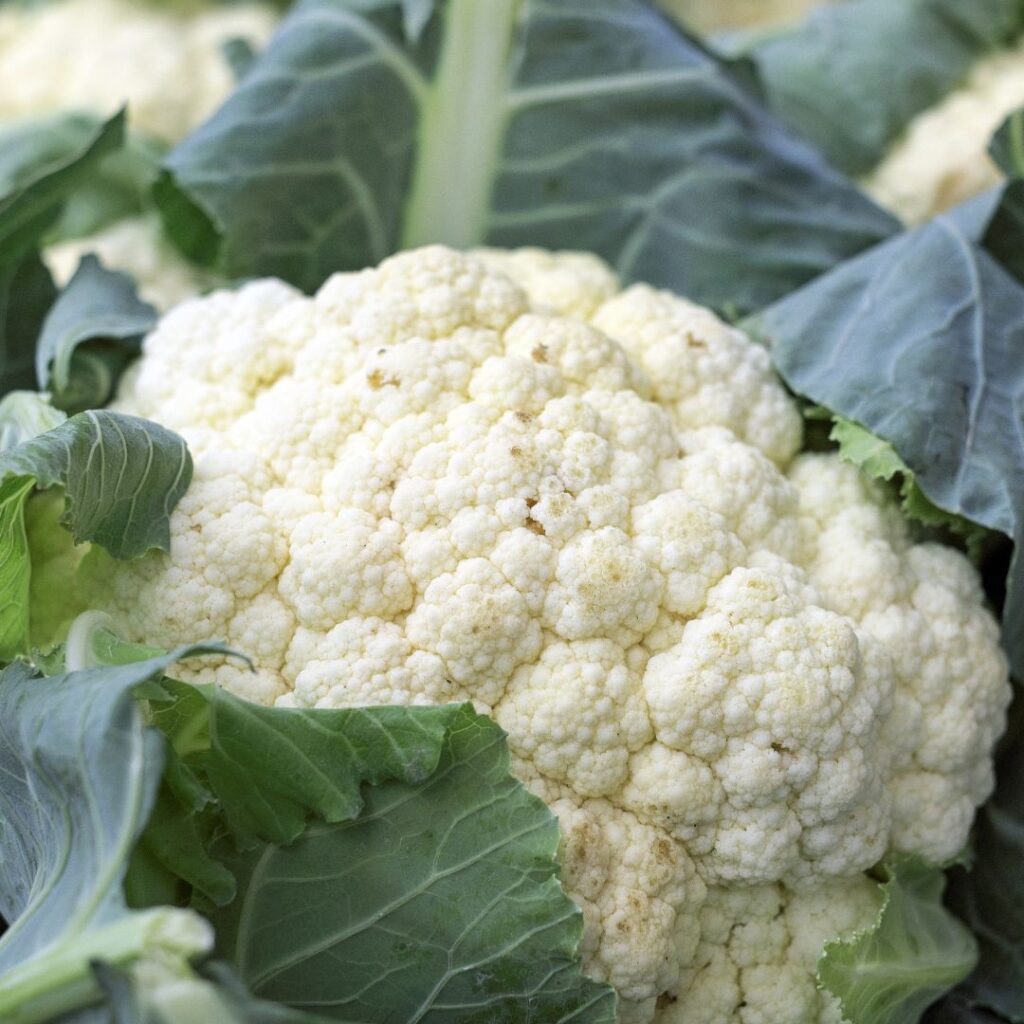
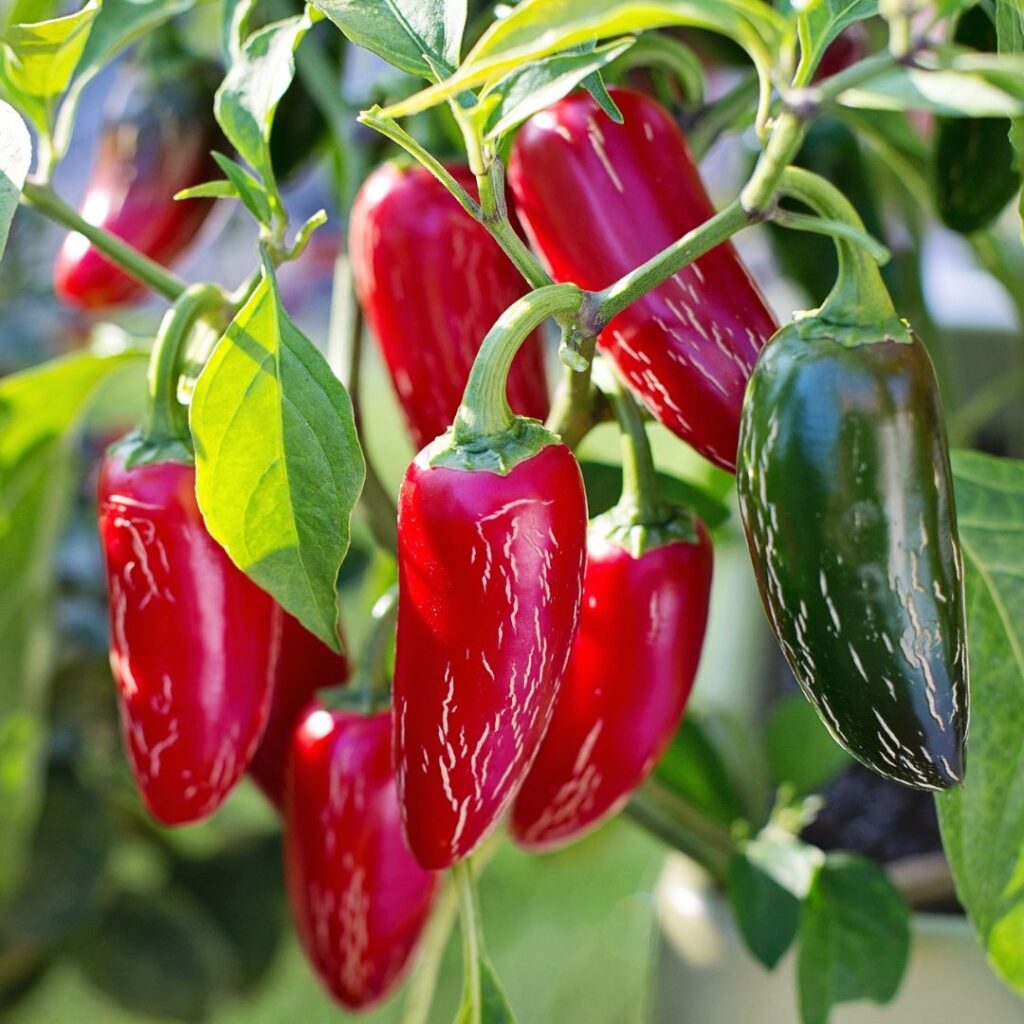


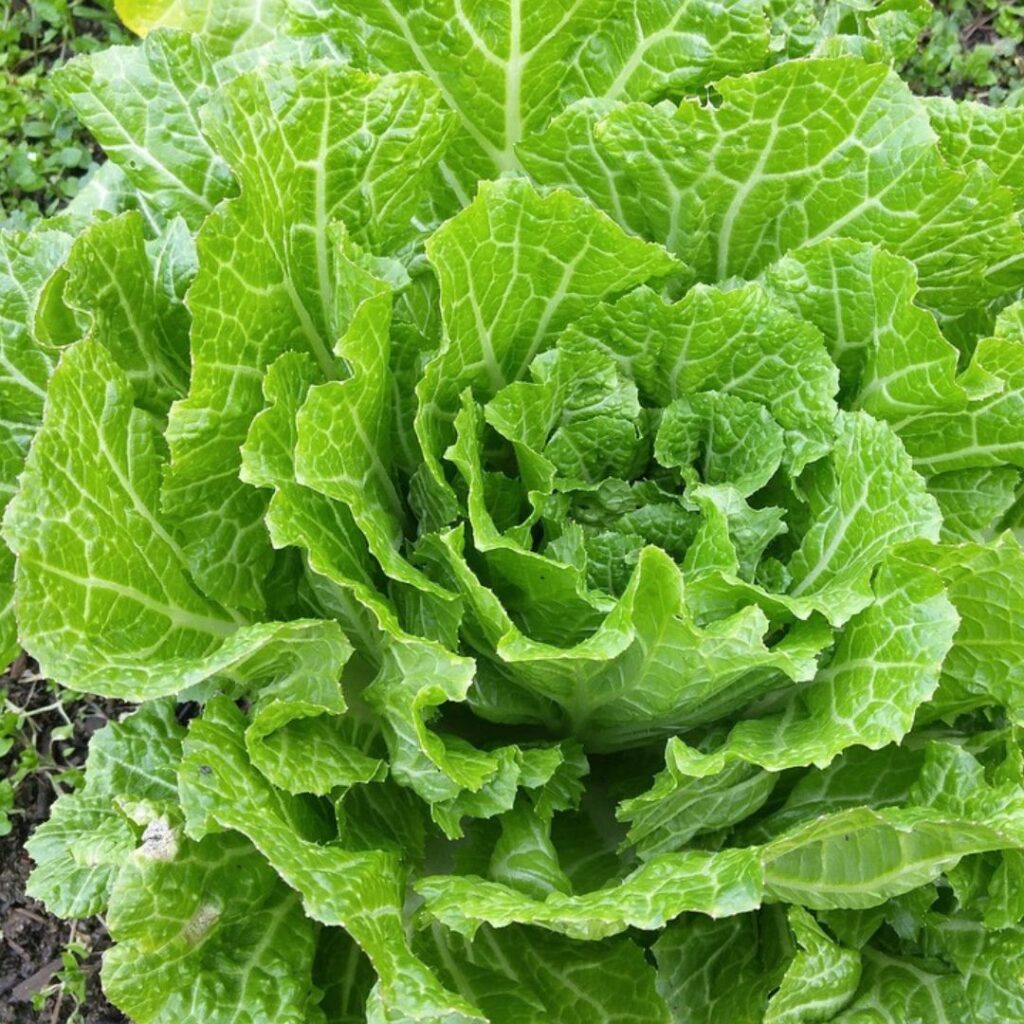


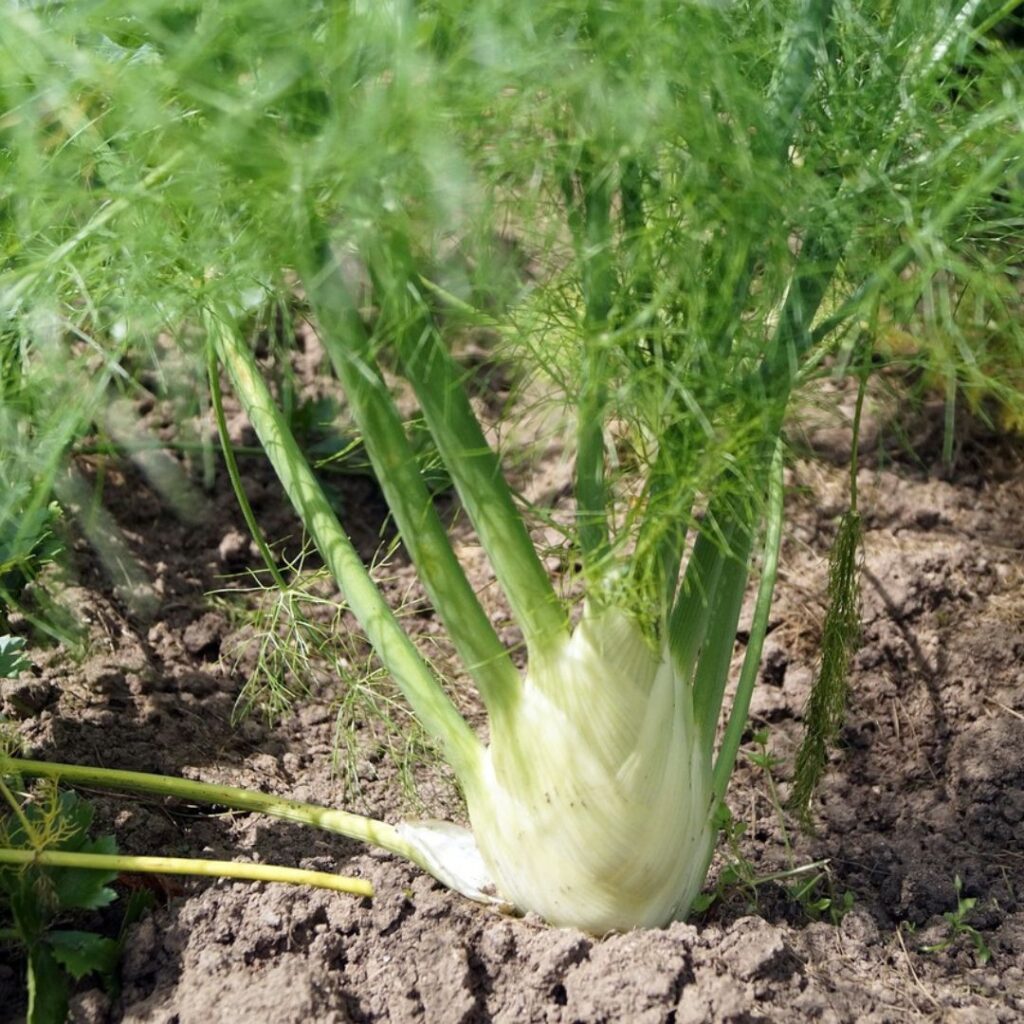

Transplanting vegetable seedlings can help them establish stronger root systems, leading to healthier and more productive plants. You can get a head start on the growing season by starting seeds indoors, while it’s still too cold to plant them outdoors. You can also plant a few extra seeds and select the healthiest to be transplanted into your garden.
Starting seeds in smaller containers also requires minimal space and makes it easier to care for and maintain your seedlings. This will help them get the best start possible so that they will grow into strong plants that are more resilient to pests and diseases.

However, for your plants to fully benefit from being transplanted, you must transplant them correctly and at the right time.
When should you transplant vegetable seedlings?
Warm-season crops should be transplanted after the last date of frost, while cool-season crops should be transplanted in the late fall or early spring. Plants should always be transplanted into fertile, moist soil during mild weather. Avoid transplanting when the weather is particularly harsh, such as during heat waves, droughts, or periods of heavy rain, as this can stress the plants and cause problems.
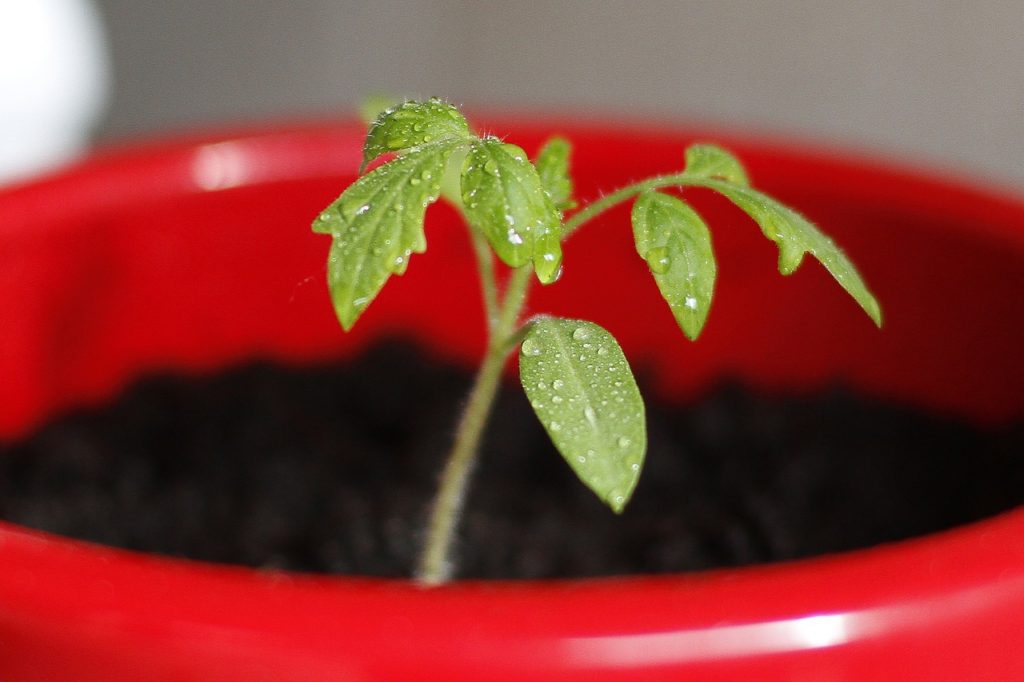
Vegetable seedlings should be transplanted when they have developed at least two to four true leaves, which is usually when the seedlings are around 4-6 weeks old. Delaying transplanting can lead to root-bound seedlings that have stunted growth and are susceptible to diseases and pests.
More information on when to transplant your vegetable seedlings
How to transplant vegetable seedlings?
Now that you know what transplanting is, why it’s important, and when your plants should be transplanted, let’s look at how to transplant your vegetable seedlings.
1. Plan and prepare your vegetable garden
First, you should choose a location in your garden that receives enough sunlight, which is 6-8 hours of sunlight a day for most vegetable plants, and has well-draining soil.
(If you don’t have garden space or suitable soil, you can instead of growing an in-ground garden, you can grow a raised bed or container vegetable garden)
Then, you can remove any weeds, rocks, or debris from the area so that it’s clear and ready for your transplants. If you’ve used the garden area before you can, amend the soil by adding a balanced fertilizer, like compost, and an amendment like coco peat, which will improve soil texture and moisture retention.

Finally, apply a thin layer of organic mulch, for which you can simply use grass clippings. Mulching will help your soil retain all the fertilizer and amendments that you’ve added without any of it being washed away, while it also creates a suitable environment for beneficial soil organisms to grow.
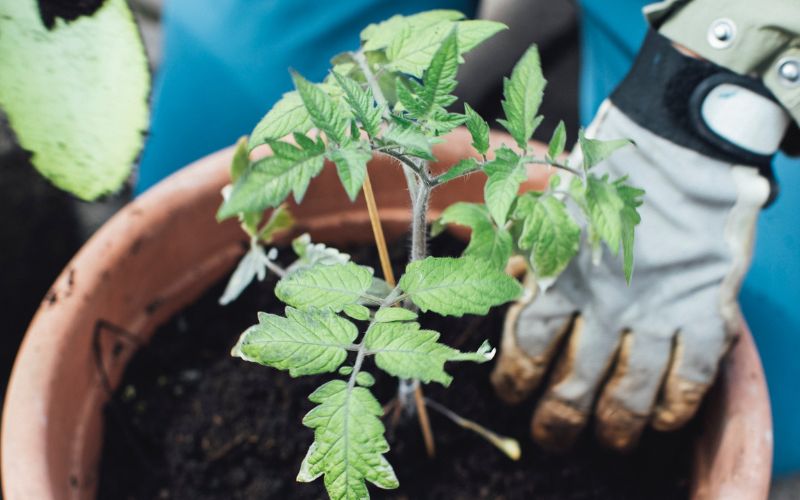
If you are going to be starting a container vegetable garden, you’ll need to get the right-sized containers based on the types of vegetables you are growing. Then, fill them with potting soil or another substrate. Garden soil should never be directly used in containers as it will become compacted.
More information on starting a container vegetable garden
2. Harden off your seedlings
Hardening off is the process of gradually acclimating seedlings to outdoor conditions before transplanting them into the garden. This helps to reduce the risk of transplant shock, which is a condition that can occur when seedlings are exposed to sudden changes in temperature, sunlight, or wind.
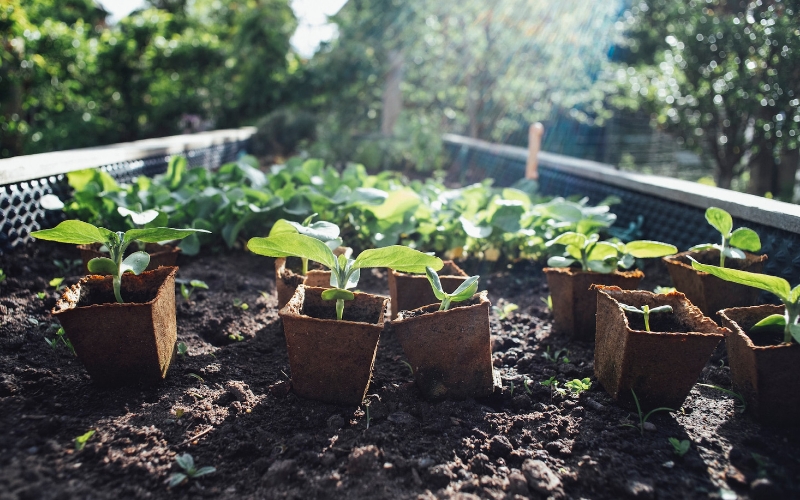
To harden off your seedlings, you will need an outdoor location that is sheltered from the wind and direct sunlight. You can start hardening off your seedlings when they are about 4-6 weeks old, just before they are ready to be transplanted.
Start by placing them in this sheltered location for a few hours each day. Then, gradually increase the amount of time they spend outside each day, over a period of several days to a week. You should make sure they are not exposed to direct sunlight or strong winds during the hardening-off process. Bring them indoors if the weather becomes too harsh and keep them well-watered.
Once your seedlings have been hardened off, they will be better able to withstand the harsh conditions of the new outdoor environment.
3. Water your seedlings and your vegetable garden or container you’ll be transplanting them into
First off you’ll need to have your seedlings well watered, especially during the 3-4 days before transplanting. This increases the likelihood that your seedlings will survive even if they aren’t able to take up water from the ground for a couple of days after being transplanted.
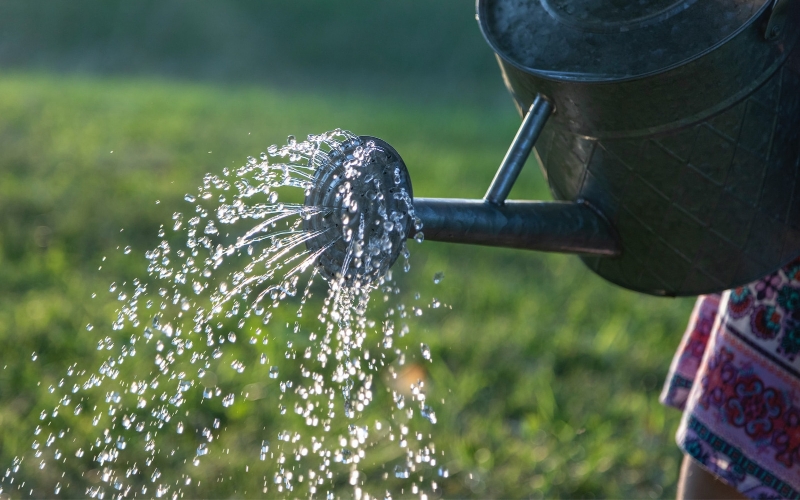
Well-watered containers also have looser soil, making it easier to remove seedlings without much damage to their roots.
Next, you’ll need to water the soil in the area where you’ll be transplanting your seedlings into. Again, watering will make the soil at this location looser, making it easier for your newly transplanted seedlings to establish themselves in their new location.
4. Gently remove the seedlings from their containers
Gently squeeze the container that your seedlings are in from different directions until the root of the seedling seems to detach from the container. Then, gently lift the seedling from the roots, being careful not to damage the roots.
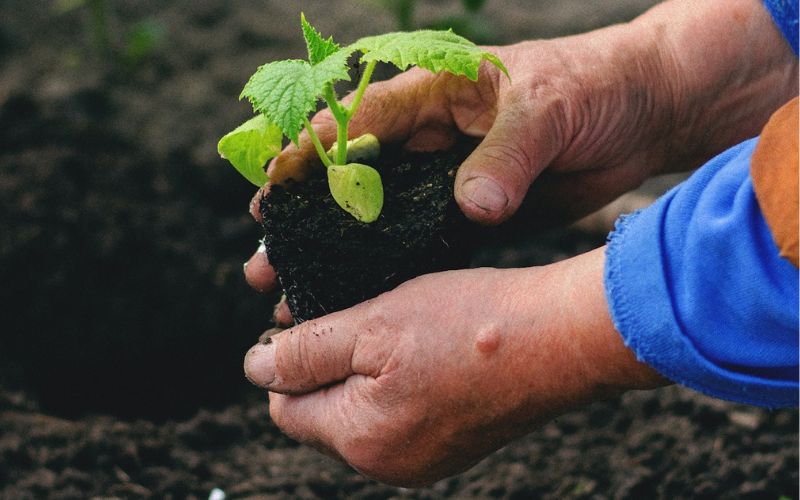
5. Plant the seedlings in the ground or larger container
Dig a hole in the soil that is slightly larger than the size of the seedling’s root ball. You can add a small amount of compost at the bottom of the hole.
Then, place the seedling in the hole, making sure that the soil level is at the same height as it was in the container (There are exceptions to this: it’s recommended that tomato and eggplant plants should be planted deeper than they are in the original container)
Afterward, fill in the soil around the seedling, being careful not to compact it too much.

If planting in the ground, keep proper spacing between plants as this is essential for healthy plant growth. Plants that are crammed together may compete for resources and it creates a humid environment that encourages the growth of diseases and pests.

6. Add mulch around the newly transplanted seedlings and water them
Add organic mulch around the newly transplanted seedling but don’t let the mulch touch the stem of the plant. The mulch will protect the soil around the plant from drying out or being washed away, which will also keep the plant protected.
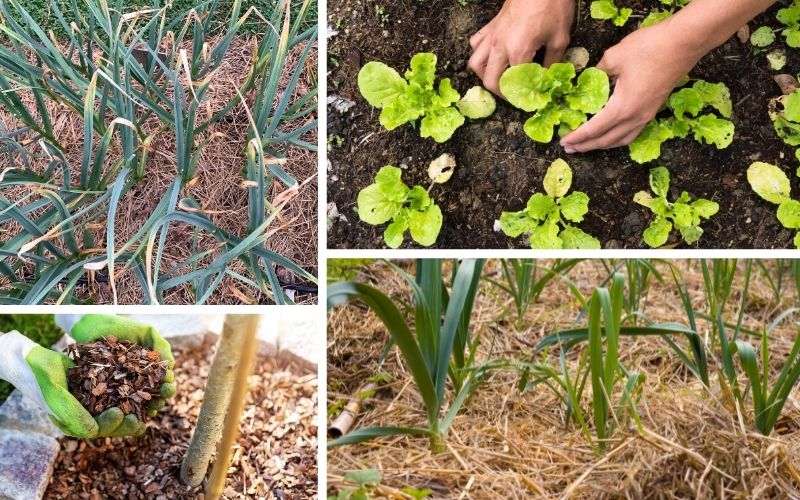
After mulching, water the seedlings deeply and thoroughly to help the soil around their roots settle. Continue to water the seedlings regularly as they establish in their new location.
7. Provide support if necessary
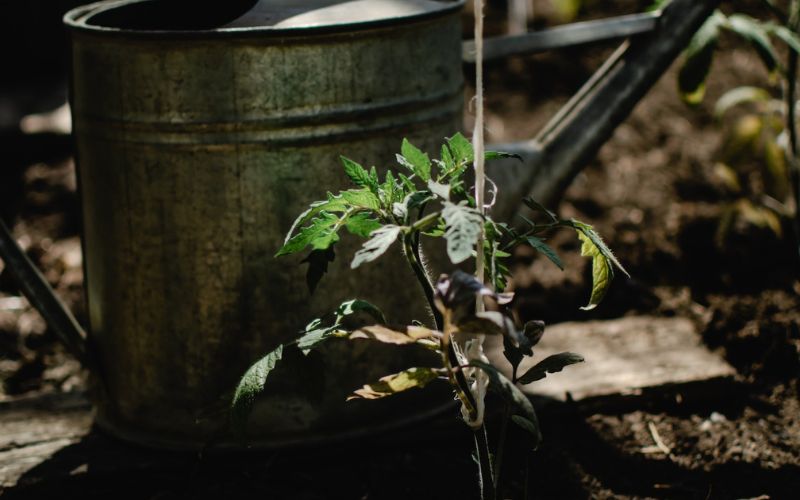
If you’re transplanting tall or top-heavy seedlings, they may require support to prevent them from falling over. Consider using stakes or cages to provide support as the plants grow. Keeping your plant upright will reduce the chances of pests and diseases from developing by eliminating damp and dark areas where they can thrive.
8. Monitor the seedlings for signs of stress
Keep an eye on the seedlings during the first few days after transplanting for signs of transplant shock. This may cause the plant to wilt, leaves to turn yellow or brown, and stunt plant growth, which may ultimately cause the plant to die if left unattended.
Properly preparing the soil, transplanting at a time of day and weather that is most suitable for transplanting, avoiding overcrowding, properly watering the seedlings, gradually hardening them off, and handling the roots with care can prevent transplant shock to a certain degree.
If your transplants do experience transplant shock, you should monitor them regularly, provide extra shade in warm weather, and keep them well-watered and fertilized. It may take days or weeks for them to fully recover.
In case, your plants are big enough or have overgrown their original container and are becoming root-bound but you need to put off transplanting for some reason, such as bad weather, you should temporarily transplant the seedlings into a larger pot if you. To prevent the development and spread of pests to nearby plants, it might be preferable to destroy your seedlings and start over if getting them out of the containers they have outgrown isn’t possible.
Transplanting vegetable seedlings can be a great way to get a head start on the growing season and ensure that your plants have a healthy start. By following the tips in this guide, you can transplant your seedlings successfully and enjoy a bountiful harvest.

